Parabolic-flute drills
for pen blanks.
A parabolic flute gives chips more room and a more open path out of a long bore. That can reduce packing, friction, and heat in a pen blank. It is not a promise of accuracy by itself: point grind, runout, flute length, stiffness, workholding, feed, and the exact kit diameter still decide the hole.
- Best case
- Deep end-grain bores
- Main strength
- Chip evacuation
- Watch closely
- Runout and heat
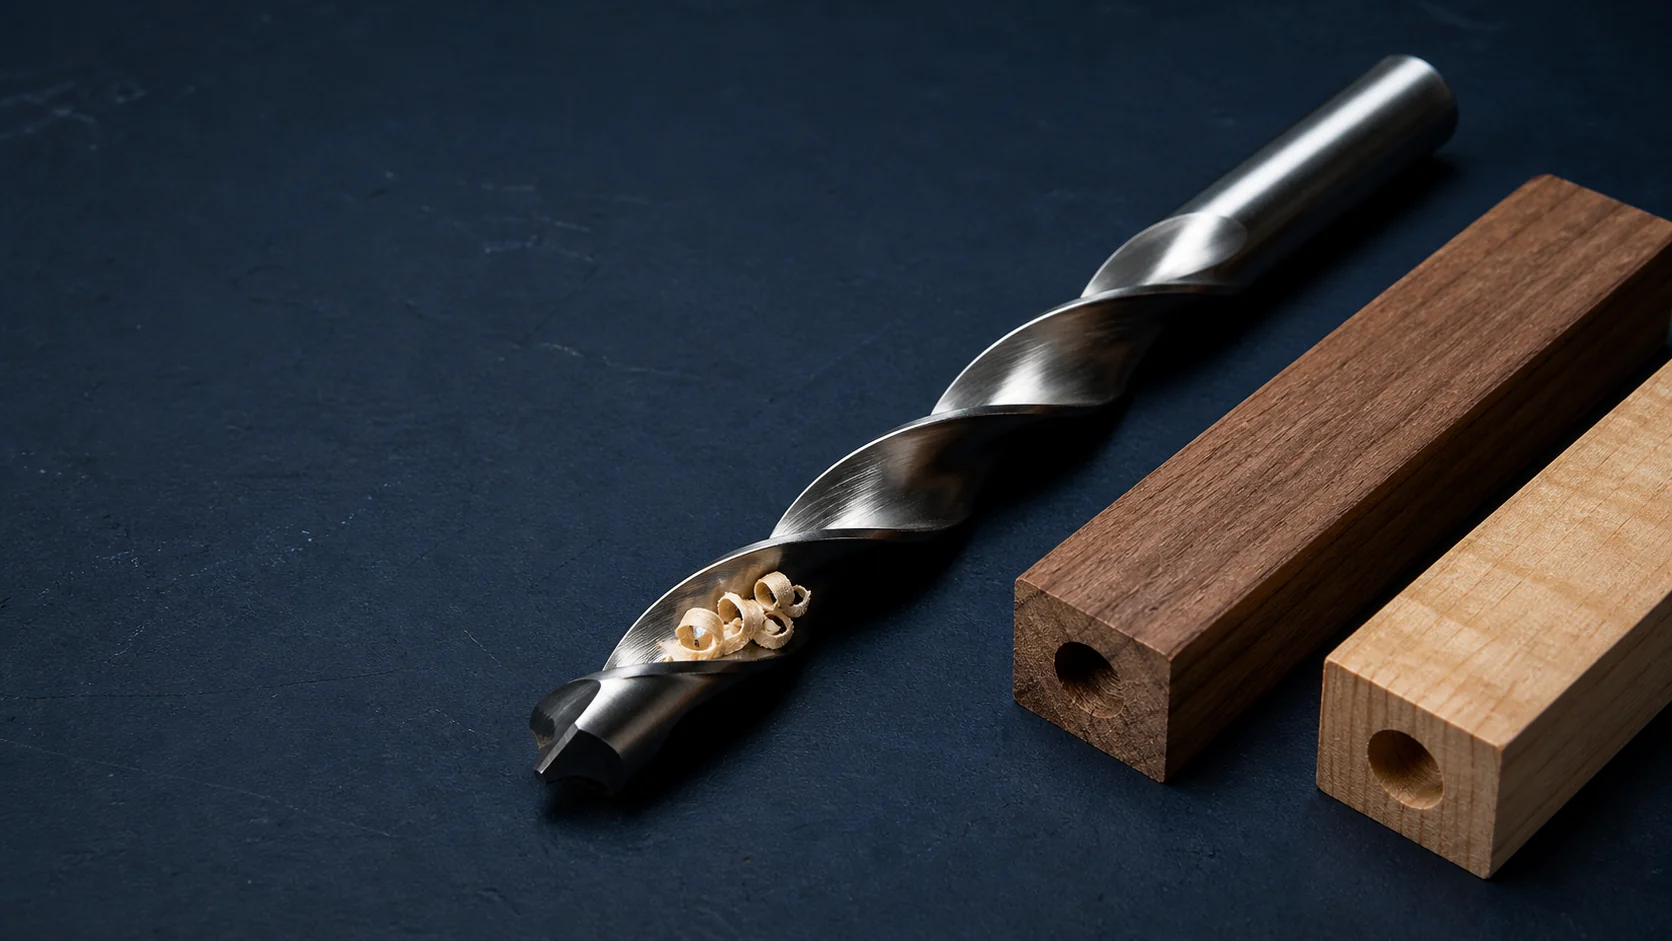
Choose it when chip travel is the problem you need to solve.
Parabolic-flute drills are strong candidates for long pen-blank bores because their wider, deeper flutes are designed to move chips with less clogging. Both a pen-specific Fisch listing and Guhring's industrial GT 100 family describe that relationship.12 But the flute does not correct an off-axis blank, a bent shank, an oversized grind, or the wrong kit size.
“Parabolic” describes the chip channel.
It usually refers to the flute form or cross-section, not a dramatically different spiral that can always be identified from a product photograph. Compare published geometry and the actual bit.
Open flute
A broader gullet creates more carrying volume around the chip. Fisch describes rapid removal with less clogging; Guhring identifies wide flutes for difficult evacuation and very deep holes.12
Core and web
The maker balances chip space against the metal that supports the cutting edges. Do not assume every parabolic bit has the same web thickness or stiffness; inspect the individual diameter and length.
Point and lips
The point starts the bore and the lips size it. Guhring's 130-degree point is one industrial example, not a universal parabolic specification.2 Symmetry and runout matter more than the name.
A conventional bit can work well, but chip packing may become the limiting factor as the bore gets deeper.
The open channels provide more room for long end-grain chips to travel toward the mouth of the hole.
Cross-sections are explanatory diagrams, not measured tool profiles. Real helix, web, margin, and gullet geometry varies by manufacturer and size.
Depth-to-diameter explains why chips become the problem.
Divide planned bore depth by drill diameter. The ratio is a diagnostic, not a universal rule, but it shows why a short pen blank can still behave like deep-hole drilling.
53.98 mm bore ÷ 7 mm diameter
57.15 mm bore ÷ 10 mm diameter
More flute is enclosed, chips travel farther, and heat has less exposed surface from which to escape. An open flute helps, but it does not eliminate pecking and clearing.
Evaluate the exact size—not the product-family headline.
Pen kits mix metric, fractional, and letter sizes. A useful bit must match the current instructions, reach the bore without burying its flutes, and still leave safe shank engagement.
Open flutes help most when chips are coherent and the bore is long.
Solid hardwood
Long end-grain chips and a deep bore make evacuation valuable. Use a sharp bit, positive feed, and regular clearing rather than letting the flutes pack.
Stabilized wood
The flute capacity is helpful, but resin raises heat sensitivity. Test a cutoff and shorten the peck interval if chips become sticky or the blank warms quickly.
Cast acrylic and resin
Open flutes do not guarantee the right rake or point for a brittle or heat-sensitive casting. Follow the blank and kit maker's material-specific guidance.
Stone and composites
Use the specified carbide, acrylic-point, or staged drilling system. “Parabolic” is not a substitute for the tooling sequence required by the material.
Segmented and inlaid blanks
Glue lines and dissimilar materials can change cutting load suddenly. Verify bond quality, back the exit, and use a test piece when the construction is valuable.
Short, shallow bores
If chip travel is easy, a straight, sharp brad point or standard twist bit in the exact size may be simpler and equally accurate.
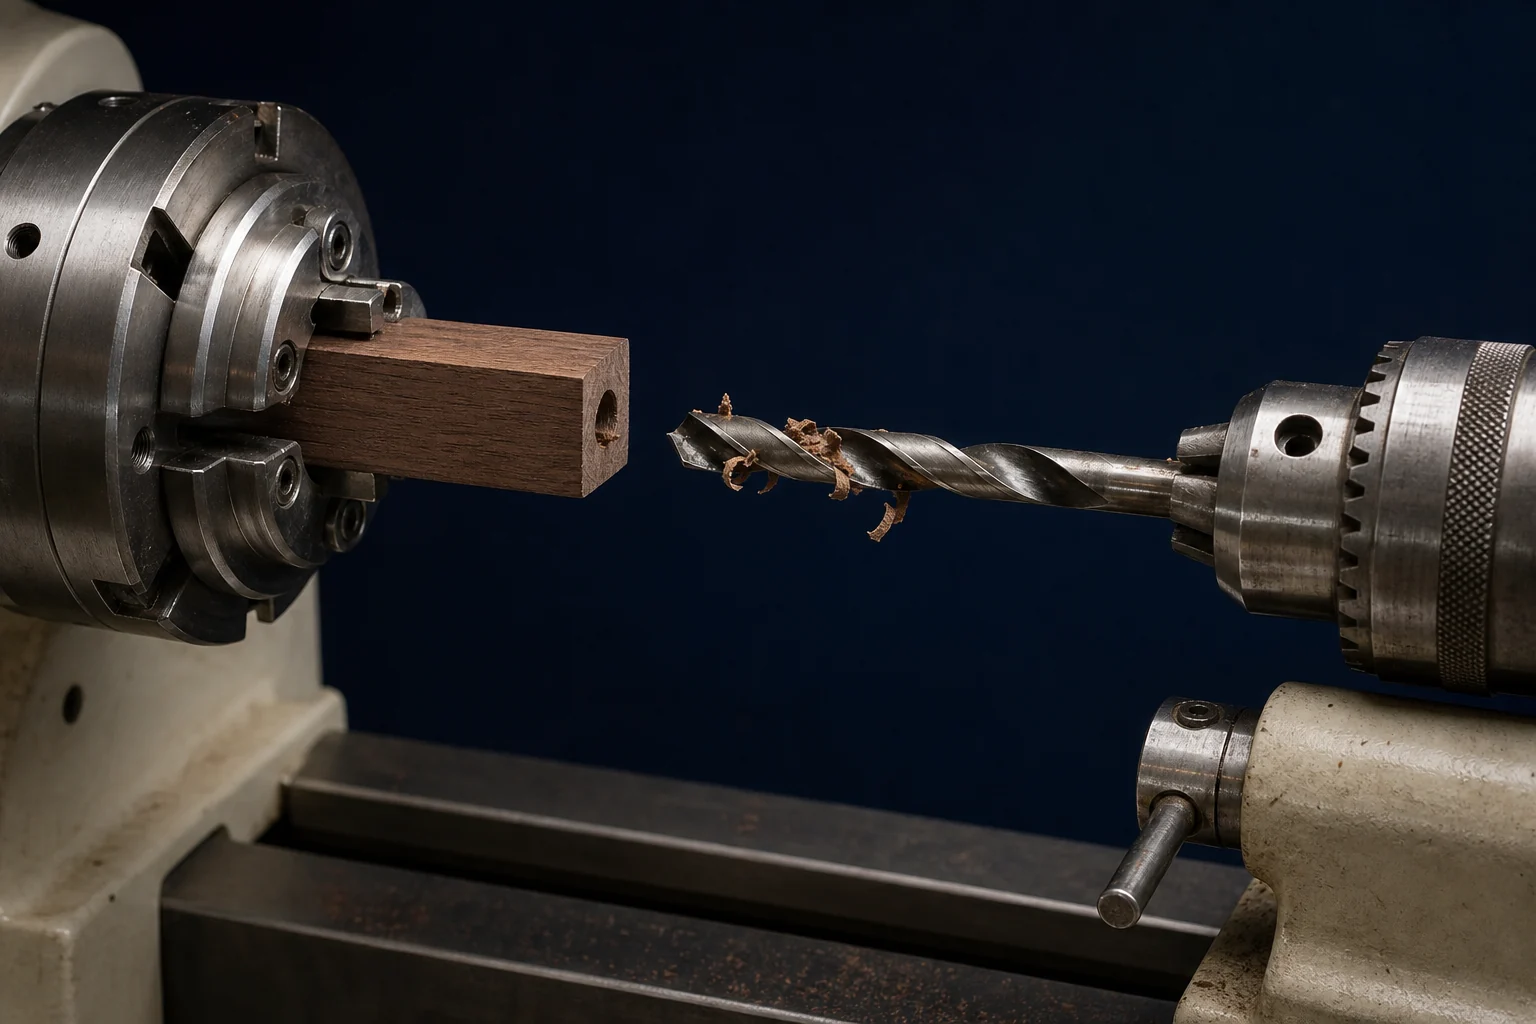
Feed, withdraw, clear, and cool.
- Confirm every bore size.
Cap and body may differ. Use the current kit instructions; do not convert between metric, fractional, and letter sizes unless the maker lists the alternative.
- Hold the axis.
Use suitable pen-blank jaws or a verified fixture. On a drill press, square the table and support the exit with scrap to reduce tear-out.6
- Check runout with power off.
Rotate by hand. The bit point should remain on axis and the blank should not wobble. Correct the chuck, shank, or workholding before cutting.
- Start conservatively.
PSI gives the slowest lathe speed, about 600 rpm, for its drilling-jaw setup. Treat that as fixture-specific guidance—not a universal speed for every bit diameter and material.5
- Use a steady peck cycle.
Advance without dwelling, withdraw while the flute still has room, stop the machine to remove wound chips, and resume only after the bit and bore are clear. Woodcraft also advises frequent withdrawal.3
- Inspect before gluing.
Look for a bell mouth, torn exit, scoring, heat damage, and glue-starved fit. The brass tube should enter with the adhesive clearance intended by the kit—not force in or rattle excessively.
Peck before the flute is full.
Pecking is a controlled cycle, not a fixed distance. Shorten it when chips compact, become dusty or sticky, stop exiting, or make the bit and blank noticeably warmer.
Start on axis with a steady feed. Do not dwell at the mouth.
Back out while the gullets still have visible carrying room.
Stop the machine. Brush away chips and let excess heat dissipate.
Re-enter the established bore without forcing or side pressure.
Pick the bit whose weakness your setup can control.
These are tendencies, not guarantees. Actual grind, runout, steel, diameter, flute length, blank material, workholding, speed, and feed can reverse the result.
Retire, regrind, or reject the bit when…
- The point orbits in a known-good chuck or the long shank visibly whips.
- One lip is longer, chipped, rounded, or heat-blue.
- The flutes end inside the planned bore or cannot clear past the blank.
- The bore grows bell-mouthed, oversize, rough, or consistently off axis.
- Chips smear, scorch, compact tightly, or stop traveling outward.
- Shorter pecks and proper clearing do not stop squeal, smoke, heat, or steering.
References and further reading
Retailer and manufacturer descriptions apply to their own products and fixtures. Use them as evidence, then follow the current instructions for your exact kit, blank, machine, and drill.
Product geometry, available pen-kit sizes, M2 HSS specification, and claims for chip removal, clogging, friction, and heat.
Open source ↗02GuhringGT 100 Parabolic, Series 504Industrial manufacturer example identifying wide flutes, a parabolic flute form, chip-evacuation use, HSS construction, and extra-length drilling.
Open source ↗03WoodcraftHow to Make Pens and PencilsPen-blank drilling procedure, alignment checks, frequent withdrawal, and a direct comparison with brad-point bits.
Open source ↗04WoodcraftBeginner's Guide to Pen MakingKit-first workflow and practical guidance on pen-maker bits for straight, deep holes without clogging.
Open source ↗05PSI WoodworkingPen Blank Drilling Jaws instructionsManufacturer instructions for on-lathe blank holding, drill diameter, conservative starting speed, quill feed, and debris clearing.
Open source ↗06PSI WoodworkingSelf-Centering Drilling Center Vise instructionsDrill-press alignment, perpendicular workholding, and scrap-backup guidance for reducing exit tear-out.
Open source ↗07Woodcraft / WoodRiver7 mm Slim Style Ballpoint Pen KitA concrete kit example showing why the specified drill diameter remains authoritative regardless of flute style.
Open source ↗08Woodcraft / WoodRiverWall Street II Ballpoint Pen KitA second kit example requiring a 27/64-inch pen-maker bit rather than a nearby nominal substitute.
Open source ↗